
A Complete Guide for Homeowners in the Bay Area
Your roof is one of the most important components of your home, yet it’s often one of the most overlooked—until a problem appears. Many homeowners only think about their roof when a leak forms or shingles start falling off. However, regular professional roof inspections can prevent expensive repairs, extend the life of your roof, and protect the structural integrity of your home.
At Roof by Tom, we’ve been inspecting and repairing roofs across the San Francisco Bay Area for over 20 years. During that time, we’ve seen firsthand how routine inspections can save homeowners thousands of dollars in unexpected repairs.
But what exactly happens during a professional roof inspection?
In this guide, we’ll walk you through the full process—from the moment a contractor arrives at your home to the final inspection report—so you know exactly what to expect.
Why Roof Inspections Are So Important
Before diving into the inspection process itself, it’s important to understand why roof inspections matter so much.
Your roof protects your home from rain, wind, sun, and debris. Over time, these elements slowly break down roofing materials. Small issues—like cracked shingles or loose flashing—can quickly turn into major structural damage if left untreated.
A professional roof inspection helps identify problems such as:
- Hidden leaks
- Weak spots in shingles
- Poor ventilation
- Structural sagging
- Flashing damage
- Mold or moisture buildup
- Storm damage
Many homeowners are surprised to learn that most roof problems begin long before visible leaks appear.
Regular inspections help catch those problems early.
When Should You Schedule a Roof Inspection?
Many homeowners ask how often their roof should be inspected.
In general, experts recommend a professional inspection:
1. Once per year
Annual inspections help ensure the roof stays in good condition.
2. After major storms
High winds and heavy rain can damage shingles and flashing.
3. Before buying or selling a home
A roof inspection ensures there are no hidden issues during real estate transactions.
4. If your roof is over 15–20 years old
Older roofs require more frequent monitoring.
For Bay Area homeowners, winter inspections are especially important because rain and coastal moisture can expose weaknesses in roofing systems.
Step 1: Exterior Ground-Level Inspection
When a roofing professional first arrives, they often start by inspecting your roof from the ground.
This allows them to identify obvious issues without stepping on the roof yet.
From the ground, contractors look for:
- Missing or damaged shingles
- Uneven roof lines
- Sagging sections
- Moss or algae growth
- Gutter damage
- Chimney issues
- Poor drainage areas
Contractors may also use drones or binoculars for an initial overview of the roof.
This step helps them determine which areas require closer inspection later.
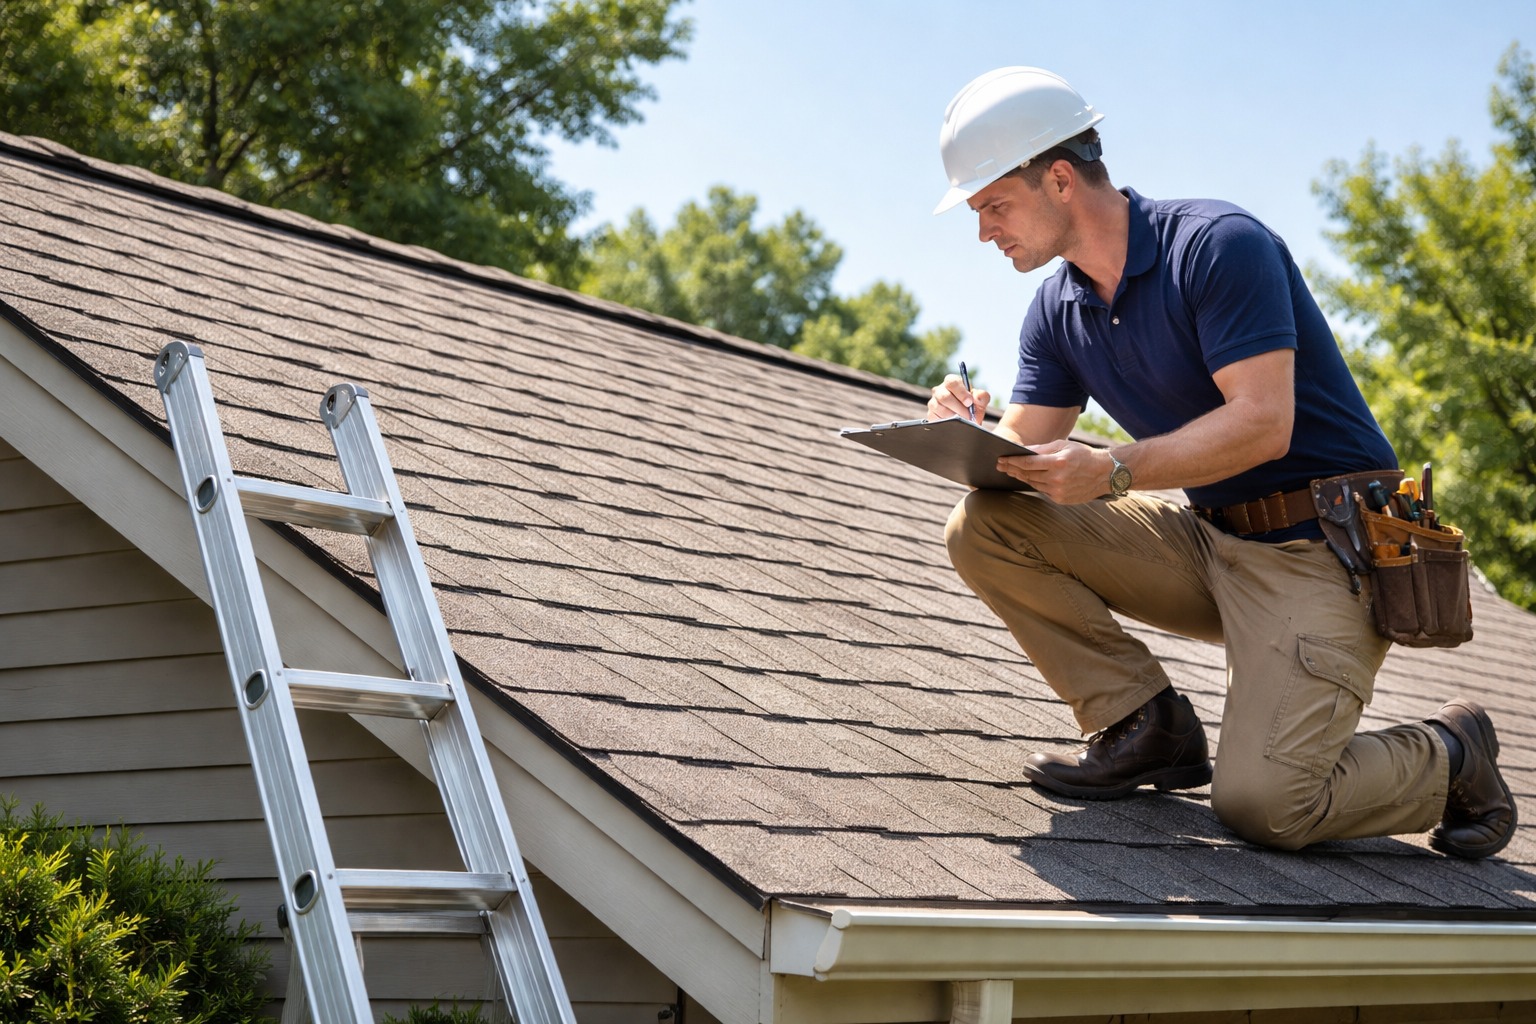
Step 2: Climbing Onto the Roof
After the ground inspection, the contractor carefully climbs onto the roof for a detailed physical inspection.
Safety is extremely important during this step. Professional roofers use proper safety equipment, including harnesses and non-slip footwear.
Once on the roof, inspectors examine several key components.
Step 3: Checking Roofing Shingles
Shingles are the first line of defense against weather damage.
During the inspection, contractors check for:
- Cracked shingles
- Curling or warped edges
- Missing shingles
- Loose shingles
- Granule loss
- Discoloration from UV damage
Granule loss is particularly important because those granules protect shingles from sun exposure.
If large areas of granules are missing, the roof may need replacement soon.

Step 4: Inspecting Flashing
Flashing is the metal material installed around areas where water could enter the roof.
Common flashing locations include:
- Chimneys
- Skylights
- Roof valleys
- Vent pipes
- Roof edges
Flashing is one of the most common sources of roof leaks.
During inspection, contractors check for:
- Rust
- Cracks
- Loose seals
- Improper installation
- Separation from roofing materials
If flashing is damaged, water can quickly enter the home.
Step 5: Inspecting Skylights and Roof Penetrations
Skylights add beauty and natural light to homes, but they are also potential leak points.
Roof inspectors carefully examine:
- Skylight seals
- Skylight flashing
- Cracked glass
- Water pooling around skylight frames
Other roof penetrations—like plumbing vents—are also checked to ensure seals are intact.
Step 6: Evaluating Roof Ventilation
Ventilation plays a huge role in roof health.
Without proper ventilation, heat and moisture can become trapped in the attic. Over time, this can cause:
- Mold growth
- Shingle deterioration
- Wood rot
- Increased energy bills
Inspectors examine ventilation systems including:
- Ridge vents
- Soffit vents
- Gable vents
- Attic fans
Proper airflow helps regulate temperature and prevents moisture buildup.

Step 7: Checking the Roof Structure
Structural integrity is another key focus during a roof inspection.
Contractors look for signs such as:
- Sagging roof lines
- Soft spots in decking
- Warped rafters
- Uneven surfaces
- Water-damaged wood
If structural issues are detected, repairs must be addressed immediately to prevent further damage.
Step 8: Inspecting Gutters and Drainage
Gutters play a critical role in protecting the roof.
Clogged or damaged gutters can cause water to pool on the roof, leading to leaks.
Roof inspectors check for:
- Blocked gutters
- Detached gutter sections
- Improper drainage slope
- Rust or corrosion
- Proper drainage helps prevent water damage to both the roof and foundation.
Step 9: Interior Attic Inspection
A thorough roof inspection also includes checking the attic space.
Inside the attic, contractors look for signs of hidden problems such as:
- Water stains
- Mold growth
- Damp insulation
- Sunlight coming through roof boards
- Poor ventilation
Attic inspections often reveal problems that are invisible from the outside.
Step 10: Identifying Storm Damage
In the Bay Area, storms and strong winds can cause serious roof damage.
Contractors inspect for:
- Lifted shingles
- Impact damage from branches
- Debris accumulation
- Flashing displacement
Even minor storm damage can worsen quickly if left untreated.
Step 11: Documenting the Inspection
Professional contractors document their findings during the inspection.
This often includes:
- Photos of damage
- Video documentation
- Detailed notes
- Measurement data
Homeowners receive a full report explaining the condition of their roof.
Step 12: Providing Repair or Replacement Recommendations
Once the inspection is complete, the contractor will explain their findings.
Depending on the condition of the roof, they may recommend:
- Minor repairs
- Maintenance work
- Partial roof replacement
- Full roof replacement
Honest contractors will provide clear explanations and avoid unnecessary upselling.
Common Problems Found During Roof Inspections
After thousands of inspections, roofing professionals often encounter similar issues.
Some of the most common include:
- Loose flashing
- Missing shingles
- Roof leaks around skylights
- Moss buildup
- Poor ventilation
- Aging roofing materials
Catching these problems early can save homeowners thousands in repairs.
How Long Does a Roof Inspection Take?
Most inspections take 30 minutes to 2 hours, depending on the size and complexity of the roof.
Large homes or multi-level roofs may require more time.
How Much Does a Roof Inspection Cost?
Costs vary depending on the contractor and the level of inspection required.
Some roofing companies—including Roof by Tom—offer free inspections for homeowners considering repair or replacement.
Benefits of Hiring a Professional Roofing Contractor
While some homeowners attempt DIY inspections, professional inspections offer major advantages:
- Safety expertise
- Advanced tools and equipment
- Experience spotting hidden damage
- Accurate repair recommendations
- Documentation for insurance claims
Professional inspections provide peace of mind that DIY checks cannot.
Protect Your Home With a Professional Roof Inspection
Your roof works hard every day to protect your home. Regular inspections ensure it continues doing that job for years to come.
If you live in San Francisco, Belmont, San Mateo, Oakland, or surrounding Bay Area cities, a professional inspection can help prevent costly damage and extend the life of your roof.
At Roof by Tom, our experienced team provides thorough roof inspections, honest recommendations, and reliable roofing services.
Schedule your free roof inspection today and make sure your home stays protected in every season.
Frequently Asked Questions
How often should a roof be inspected?
Experts recommend once per year and after major storms.
Can a roof inspection detect leaks?
Yes. Professional inspections often identify leaks before they become visible inside the home.
What if my roof needs repairs?
Your contractor will provide a repair plan and estimate after the inspection.
Do inspectors check gutters?
Yes. Gutters are inspected to ensure proper drainage.
Is an inspection necessary if my roof looks fine?
Yes. Many roof problems begin long before visible damage appears.